This advice is coming from someone who could barely get around Facebook and Instagram. I’m going to show you how to start your own travel blog. Or any type of website. I started my blog in 2020, Not having a clue where to start or even having a name. I knew I wanted to write and give tips about travel. So here is some advice on how to get started, even if you don’t know how to get around a computer.
Getting your site up and running
Choosing an audience
This is what some call a niche. However, not everyone has just one thing to focus on. Mine was travel and I also started to write about mental heath (anxiety and depression). Maybe you are an artist or a do it yourselfer. Finding the right audience is important, You can always add to it as long as it aligns with your audience. You are not going to please everyone but just be true to you.
Choosing a name
Now this can be hard or easy. In the travel world everyone is using “wanderlust”, “wanderer” I did lol. I don’t regret it but maybe try something that stands out. Also if you choose either of those you will be in high competition. Meaning those who have had those names for years if not a decade will always rank higher. Choose something people will remember. Stand out from the crowd. But don’t choose something people will have a hard time remembering. If you don’t know, ask those closest to you for help. The other thing you want to do is make sure it is not being used. A google search can help with that.
Finding a host domain
Disclosure: Please note that the links below are affiliate links, and at no extra cost to you, I earn a small commission if you make a purchase. It is just a small way you can help the wanderingtravelerblog bloom.
When I first started this was my biggest mistake. Instead of doing this first, I had this as my second step. Oh that went sideways real fast. I didn’t know with just one click I could get my domain Bluehost (www.wanderingtravelerblog.com) and my website WordPress. So to break down what that means. Your domain is the address to your website, like a mailing address, that people type in to bring up your site. And your website is your home. Here people can explore all your content.
I had chosen Bluehost as my hosting company. This is such a friendly site to navigate, no coding required. Take it from someone who had a hard time figuring out Facebook and Instagram.
Getting set up is easy. Also if you click on the link below you will get a discount on your new domain. You will get it for 2.95/month instead of 8.99/month. Super savings!! Click on the link here

I’m going to show you step by step how to step up with Bluehost and WordPress.
Step 1 Getting started
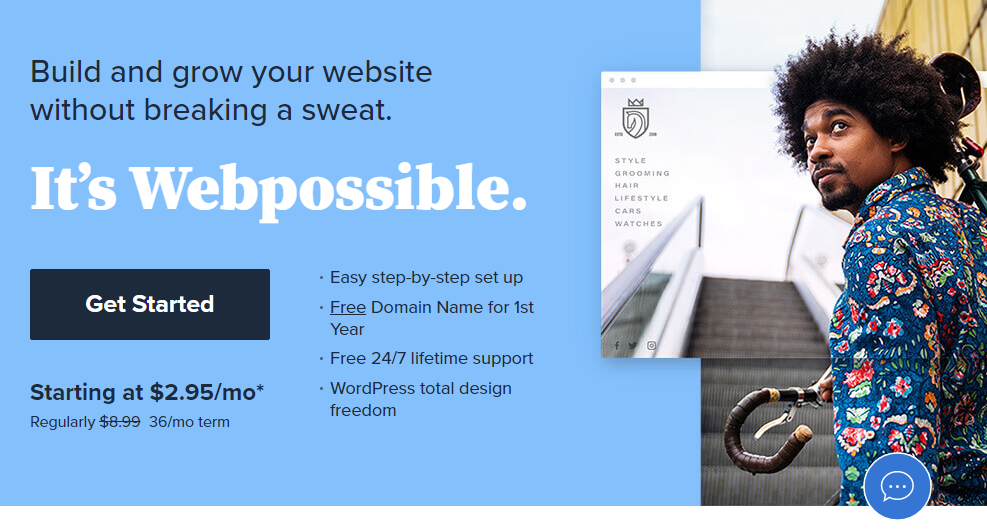
Click get started, this will bring you to the next step picking your package.
Step 2 Picking your plan

Depending on what you are looking for in a domain. If you are going to have just one website you will go with basic. The recommended one has added privacy and security. Each plan comes with free domain for one year. Click on the plan that best suits your needs and lets choose our name.
Step 3 Choosing your domain name

Now this is important. Creating your domain name, mine is wanderingtravelerblog.com. Make sure you choose a .com as this is trusted by people. If you can’t think of a name you can skip and come back to it later. This is an important part of your website, so don’t take it lightly. If you put your wanted domain name in and click next. You will get the green bar accepting that name. If that name is not available you will need to think of another.
Step 4 Filling out your account info
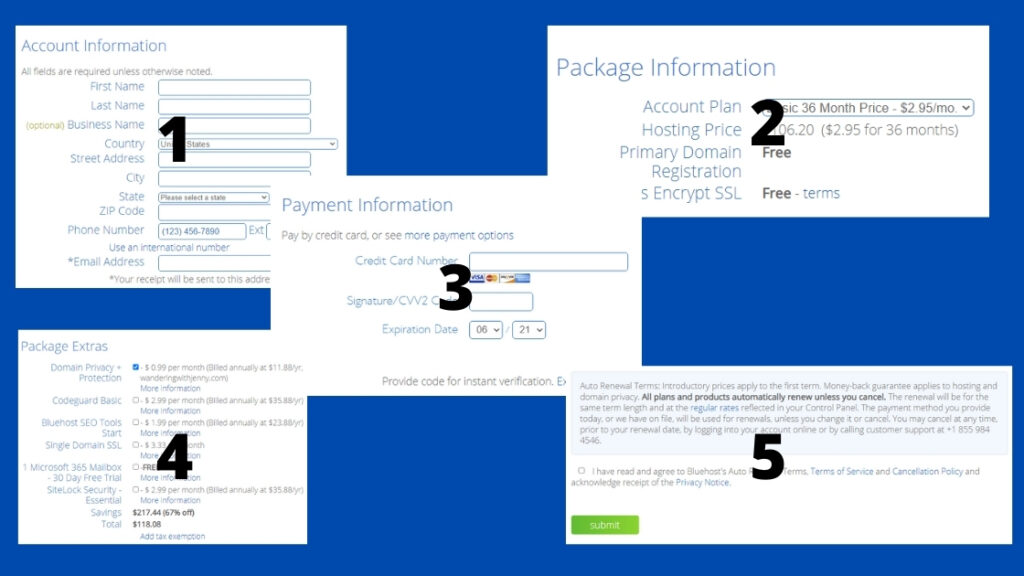
The next step is filling out your account information. Confirming your package plan. Your payment information. Package extras. The only one you really need is the privacy and protection. If you need more you and click on the box. Then agreeing to the terms and conditions. And submit!
This will bring you to your receipt page. Take a look over your package and click create account.
Step 5 creating your password for your domain
Create your password for your site. Make sure you write it down. And click on create account.
Step 6 Logging in
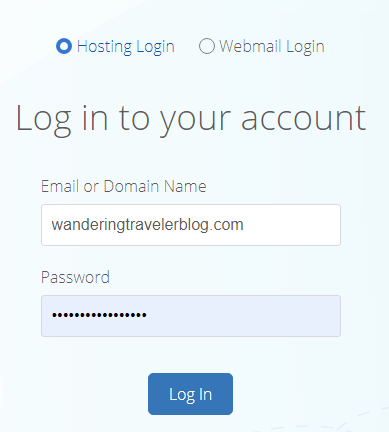
Step 7 Bluehost Dashboard
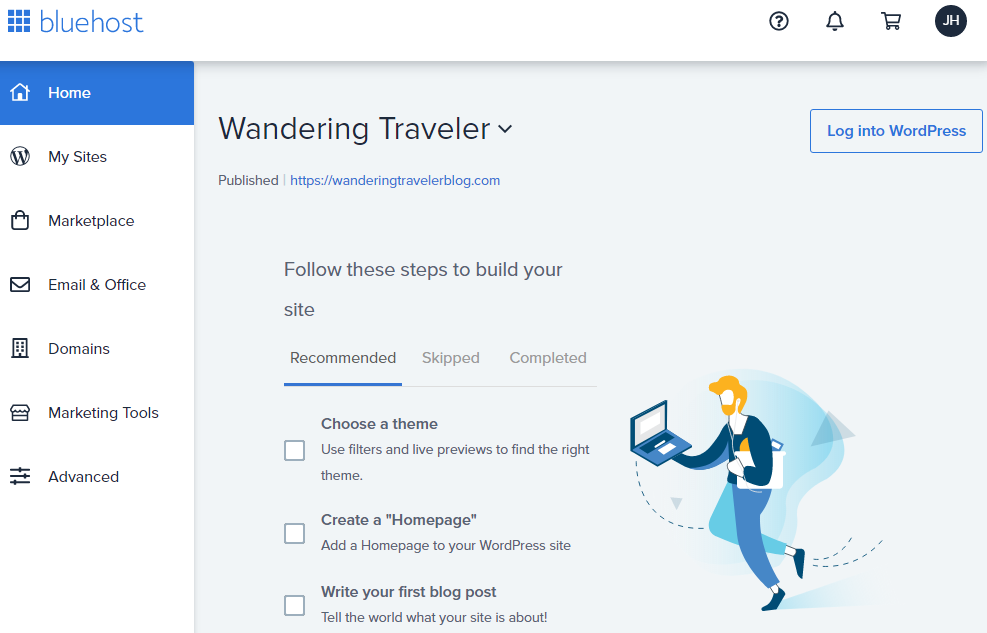
Yahhh you have officially set up your website! Next step is setting up your WordPress. Click on My Sites then click on Log into WordPress. This will take you to your WordPress Dashboard. We will get more into that dashboard later. For now go back to your Bluehost dashboard and go to Domain. You should have got an email from Bluehost to verify your email. If not click resend verification Email. Once you have verified that we can go back to My Sites and click on manage sites button.
Step 8 WordPress Dashboard
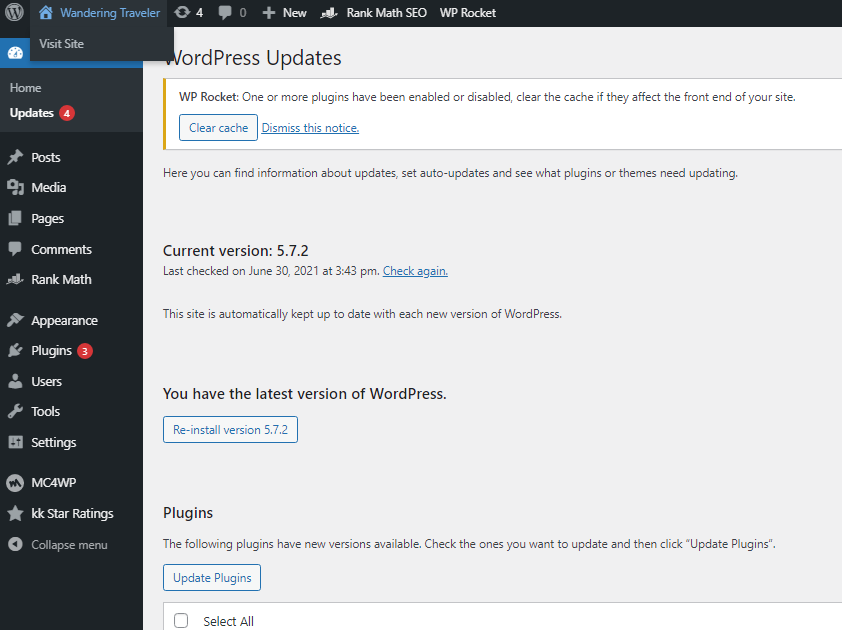
The WordPress Dashboard is your home. Here is where you create all your content. The first thing you are going to see is “launch your site”. You do not need to do that right away. You can start creating content and launch at a later date.
Step 9 Choosing a theme
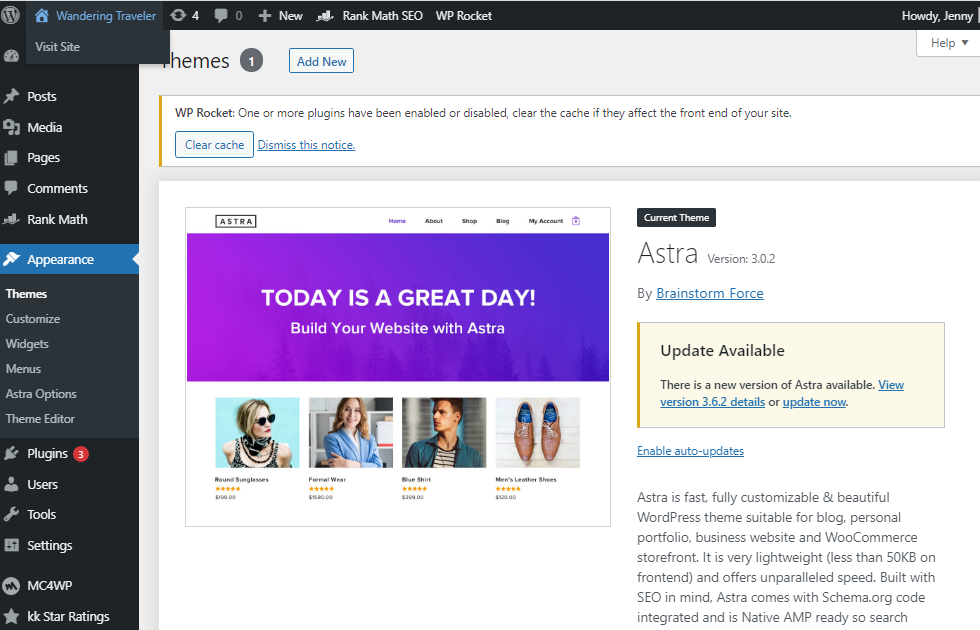
On the left side of the screen you are going to find all your options. To choose a theme click on appearance. Next click on themes. Click on add new. There are thousands of them to choose from. The one that I went with is called Astra. It is easy to use and set up.
Your theme will depend on your website or blog. What are you looking to create? Are you going to have writing, videos, images (large or small). Be sure to read each theme careful. The last thing you want to do is have a slow running site. There is no best theme, it really depends on you and your ideas. The first I had picked really went sideways. It was slow and I couldn’t add a lot of pictures. So I went to someone for help. This was the best thing I could have done.
If you are looking for an expert in setting up all this with web design as a complete package, contact SAJID. You can reach out to him at toptenpl@gmail.com
Designing your site
Create a logo
This is important. Creating the first thing people see. Not only is it for you but it is the first thing that will have people wanting to read more or move on. There are a few ways you can create the perfect logo. The first logo was great but I found out it had been blurry and also I didn’t have copyrights to it. So I had a friend, who does this for a living, design one for me. You can also create one on Canva Pro. I use Canva Pro for my pins on Pinterest, creating Instagram posts and even creating designs for my shirts. You will not waste money by going pro.
Looking for a professional. Contact Vicious Vinylz for your unique custom design. Ernie at sales@viciousvinylz.ca
Choosing plugins
What is a plugin? Oh boy, this is the part that had my head spinning. What are these things and do you really need them? In short, yes. After hours of YouTube videos and a million questions I finally figured it out. They are important for making blog life easier. Also for security. Some are free and some you pay for. Here are the most important ones you should have.
Create your posts and pages
Posts or pages
What is the difference between them? Again another thing that I didn’t know. You have your main page, this is where people can search for content within your site. From your main page you have links to other pages. And from those pages you have posts. You don’t want to weigh your site down with pages.
Home page
This is where you you bring in your audience. Set up your main page with the highlights of your blog. You will need to set up a menu bar. This bar will be available on each page or post. This will help your followers navigate within your site. On your menu bar you will have your highlight reel. For example, as a travel blogger, my menu bar has home, about me, destinations and travel anxiety. I, like most, don’t want to focus on one topic. Others may have lifestyle or photography or anything related to travel. This opens to another group.
Your home page is the first thing people see. So you want to make sure it has enough info but not too crowded where people will get overwhelmed. Introduce yourself. Have a small snippet that will link them to your about page. Have some your best content on the home page. This is where you are going to draw people in to stay on your site longer.
About me
This page is you letting your followers or guests know what you are about and why you are here. BE YOURSELF. You are not selling yourself. This is where the true you comes in. Introduce yourself. Tell them why you are here. What made you create this site and what they have to look forward to. Give examples for your ups and downs and highlight your area of expertise.
Your niche (audience)
The next main area is your niche (topic) This is where you excel. For me it was destinations. I narrowed this to the countries I have visited. From each of those I created posts about each place. Try to have 5-10 posts within that area, branching to other posts. Again this is an important page as it is giving your guests a look at your what you are all about.
Other
This is another area related to your topic but something you are passionate about. For me it was mental health. As a sufferer of anxiety while at home and abroad, this was something I could talk to my audience about. You may not have another topic at this moment but I’m sure somewhere down the line you may branch out to another area.
Behind the scenes
A website or blog just doesn’t appear in google or any search right away. You have to build your followers and audience. Basically you need people on your site. The background work for me was and still is a struggle but hey, I have come a long way. In the beginning I couldn’t tell you what a widget was or how to rank a keyword. I have had help and still get advice to this day from this guy. If you need information or help on how to do appropriate keyword research and get more visibility in search engines like Google and get top rankings. Please contact Sajid at toptenpl@gmail.com
Analytics and SEO
This is an area I still struggle in, maybe this is where you excel. To be honest I have hired someone to help me with this from time to time. SEO is search engine optimization. Easiest way I can explain it is. If you google travel bloggers, the top bloggers in that field will show up. If you google top ten destinations, those who have great reach will be in the top of your search list. Working your way up the search pages is not going to be easy in my field but the harder you work on the little things the higher you will get.
Keywords
These are words that help you get ranked within the search tool. Finding Keywords is not always easy and you want to start small and work your way up. For example. I know I will not be found when someone searches for top places to visit, or best destinations. Those who have been in the industry for years will be in the high ranks for that. By starting in a smaller area, such as hiking backpacks or small cities, I have made my way to the board.
Do you need him in areas like low competition keyword research and doing perfect on page SEO and off page SEO (link building) reach out to SAJID here toptenpl@gmail.com
Marketing
There are so many social avenues to get your name out there. After months of finding which ones work best for me, I have narrowed it down to 3 social outlets. You have Pinterest, Facebook, Twitter, Instagram, YouTube and more. In the beginning I was into Pinterest, so I used it. I also stared a page in Facebook. And Instagram was another. For the first 6 months I use all three and spaced them out equally. After that I evaluated which was working the best and put more focus on it. Having 3 to maintain is a lot, pick one and put 60% into it then 20% in each of the other 2.
Be creative
Now you are set to go. BE CREATIVE. Don’t following everyone else or you will fade into the background. You created this because you knew there was something missing in everyone else. Let it out!!! Show the world why you are great at what you do. Blogging is a community. Reach out if you are stuck. I’m no expert in this but I know that sometimes when you become an expert you forget the smaller details. I’m sure I will be updating this as I go. The great thing is I will always be learning new ways and I can’t wait to share them with you. HAPPY WRITING!!
